
How to plant a tree
If you’ve just collected a tree sapling from our Community Tree Nursery, a little care when planting will help it establish strong roots and thrive for years to come.
Follow the steps below to give it the best start in life!
Follow our 7 easy steps…
The planting process is simple and the same for any species of tree you have from us. If you haven’t got a tree yet, check if we have any available to order here.
Top tip: Keep your tree somewhere cool and sheltered until you’re ready to plant it. The sooner you get it into the ground, the better!
Ready to get planting? Here’s what you need to do!
1. Dig a small hole
Choose a suitable spot where your tree has enough room to grow, taking into account its eventual size and the space available.
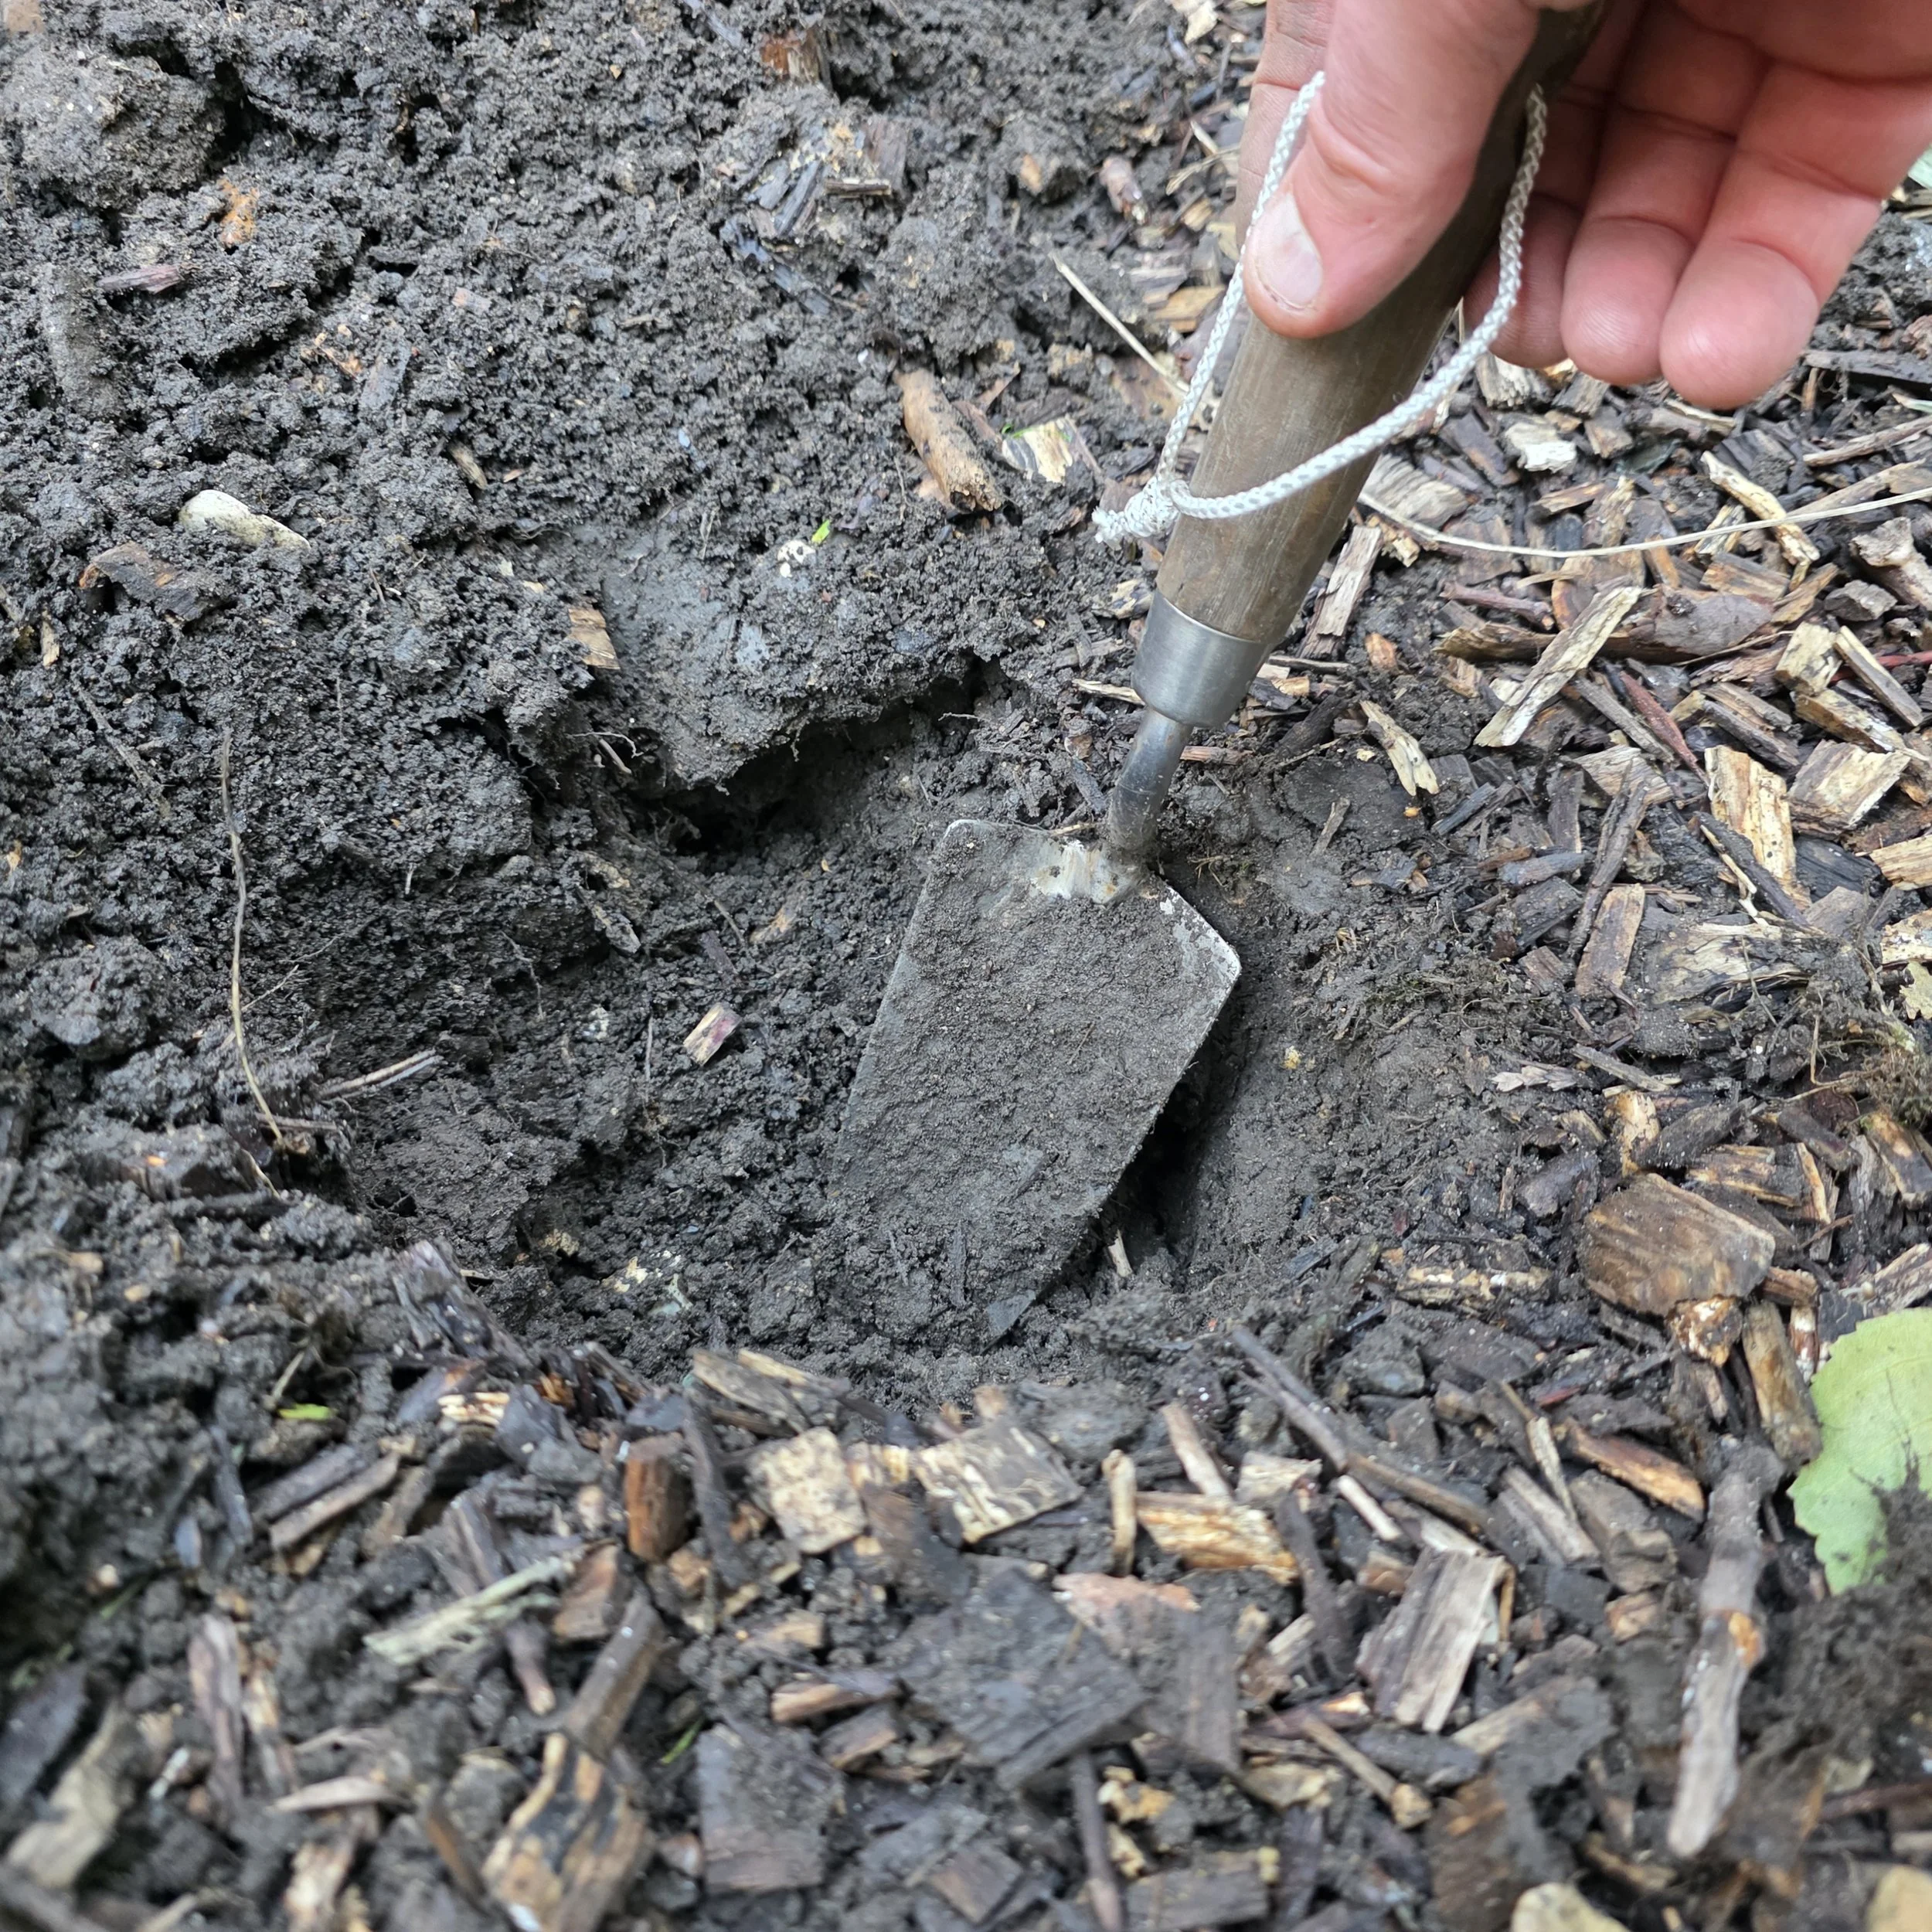
Using a trowel or spade, dig a hole at least a few times wider than the tree’s root plug and deep enough to accommodate it comfortably. The root plug is generally around 20cm tall and a few cm in width.
Loosen the soil around the sides of the hole to help the roots spread into the surrounding ground. Avoid digging too deeply, you want the top of the root plug to sit level with the surrounding soil.
2. Unwrap your tree
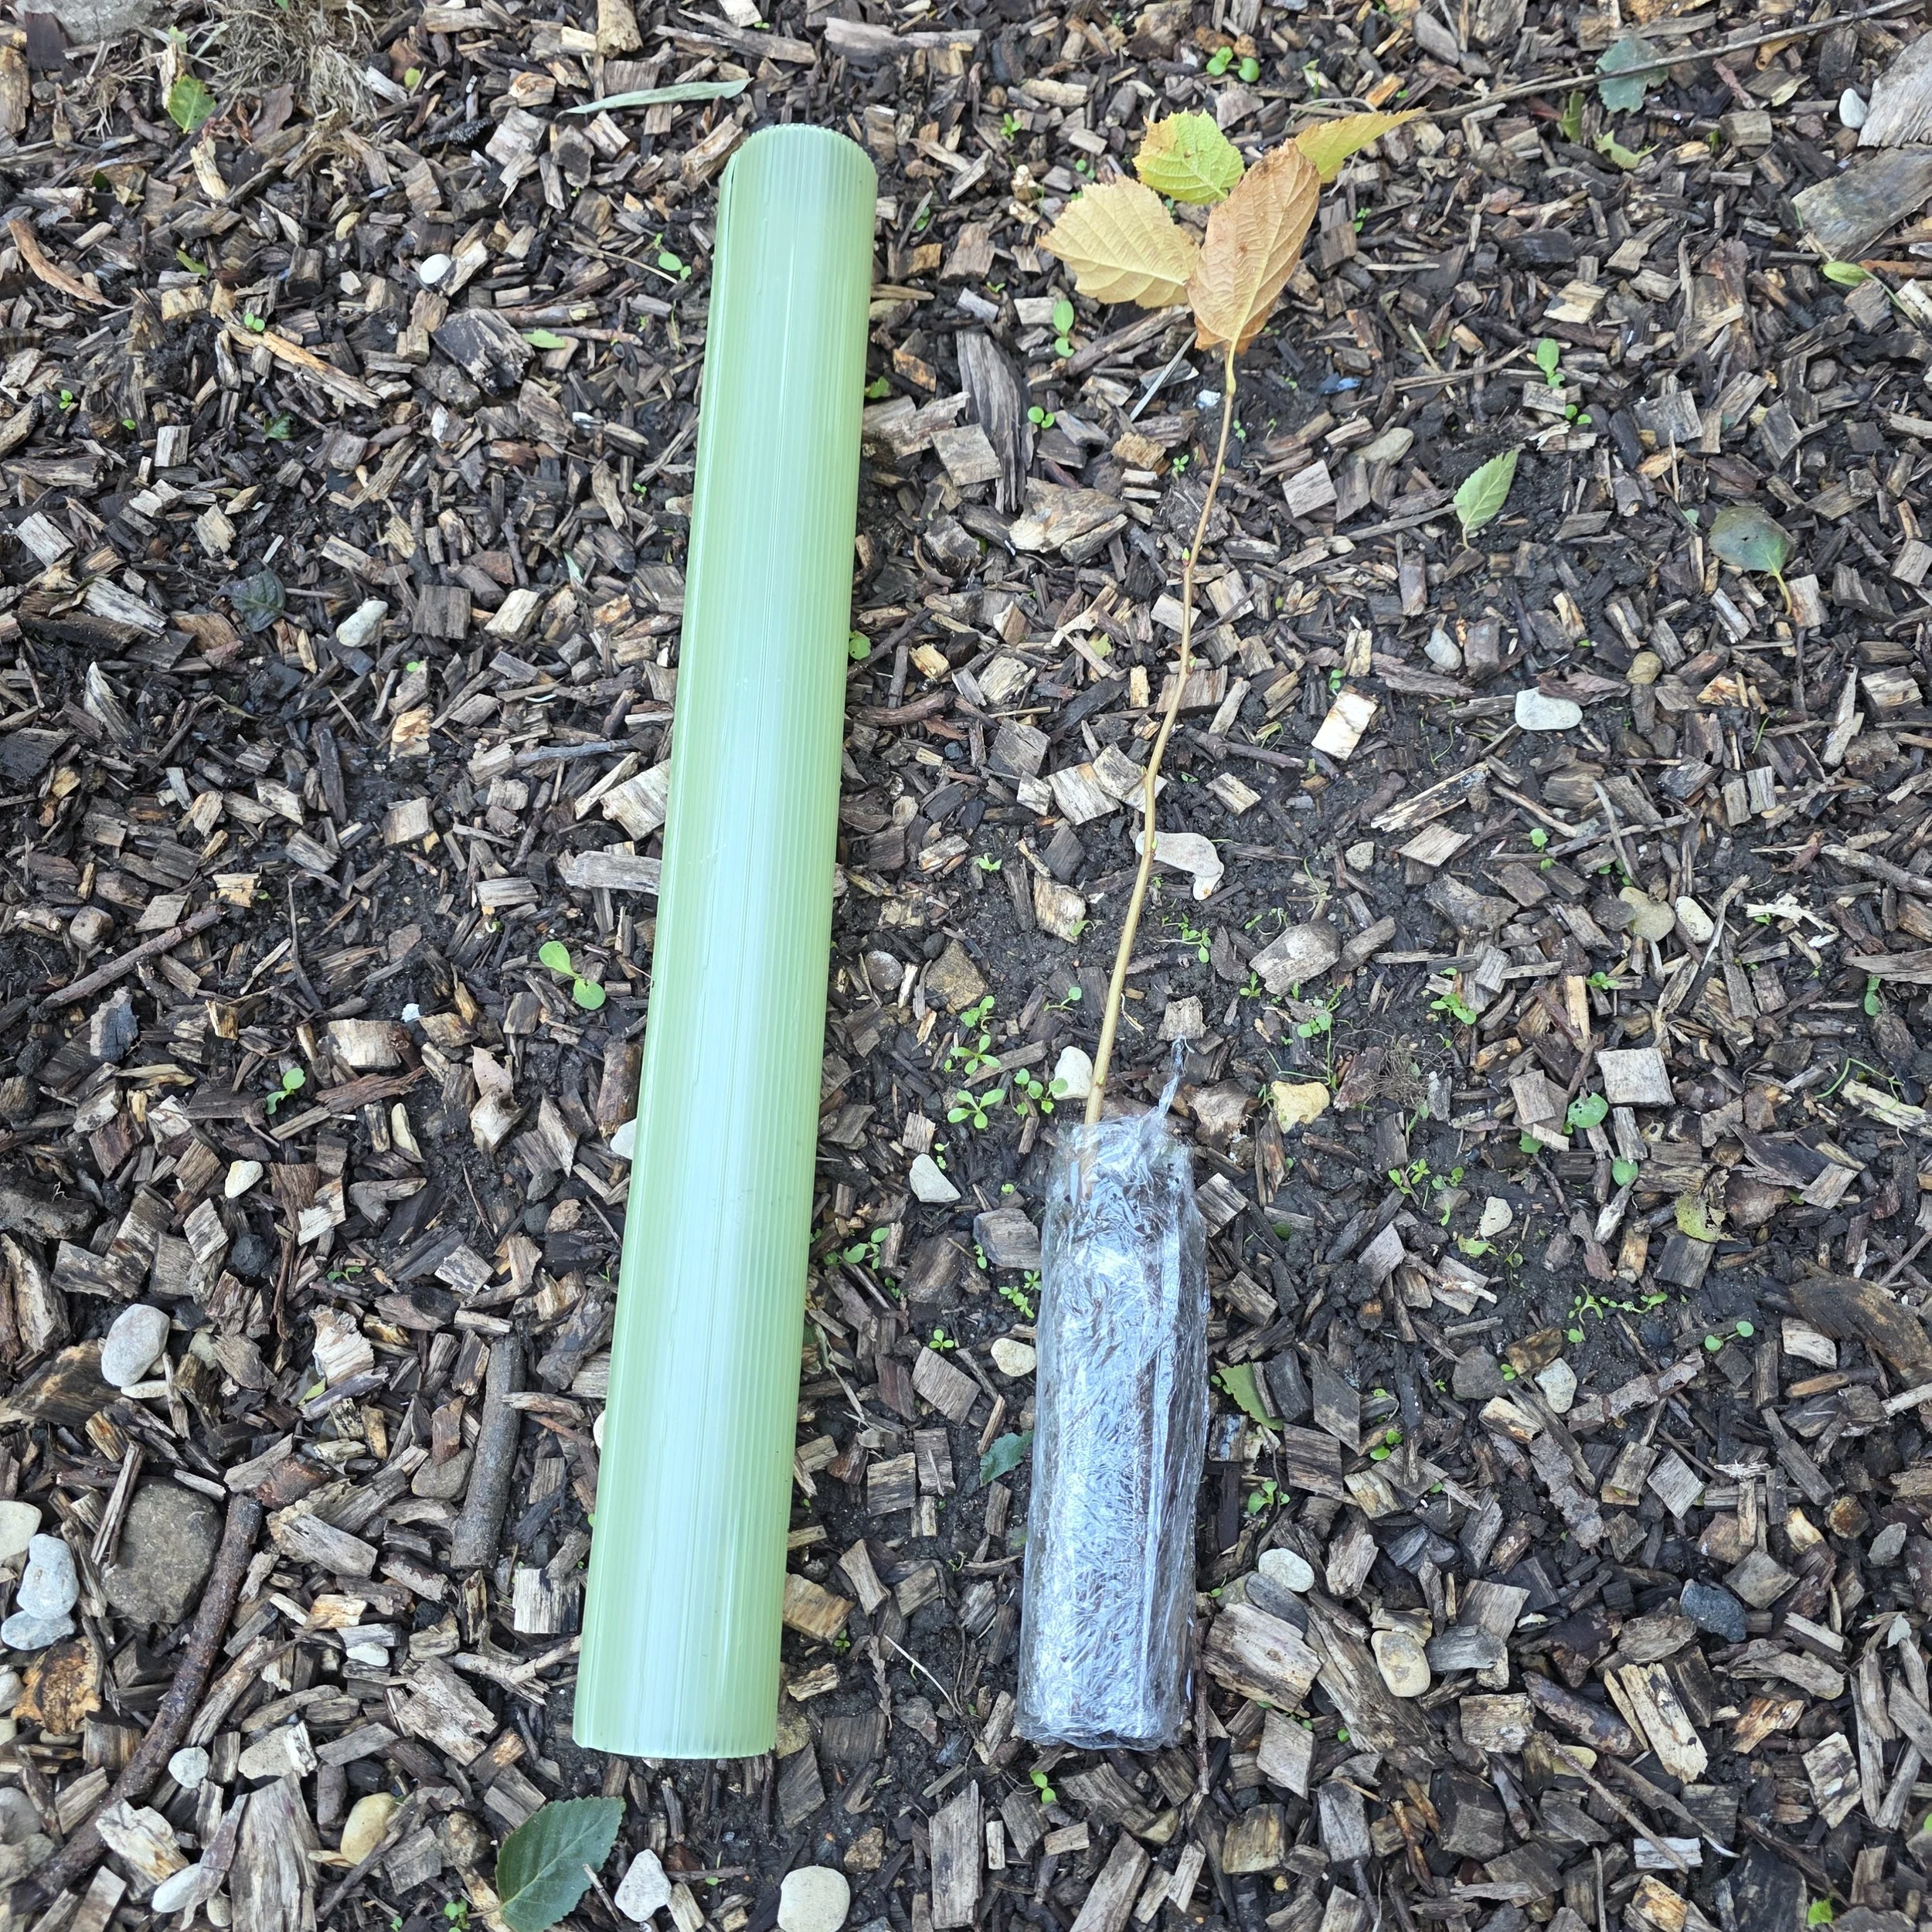
Your young tree comes in a protective tube. This does two important jobs - keeping it safe during transport and protecting it once planted for the first couple of years.
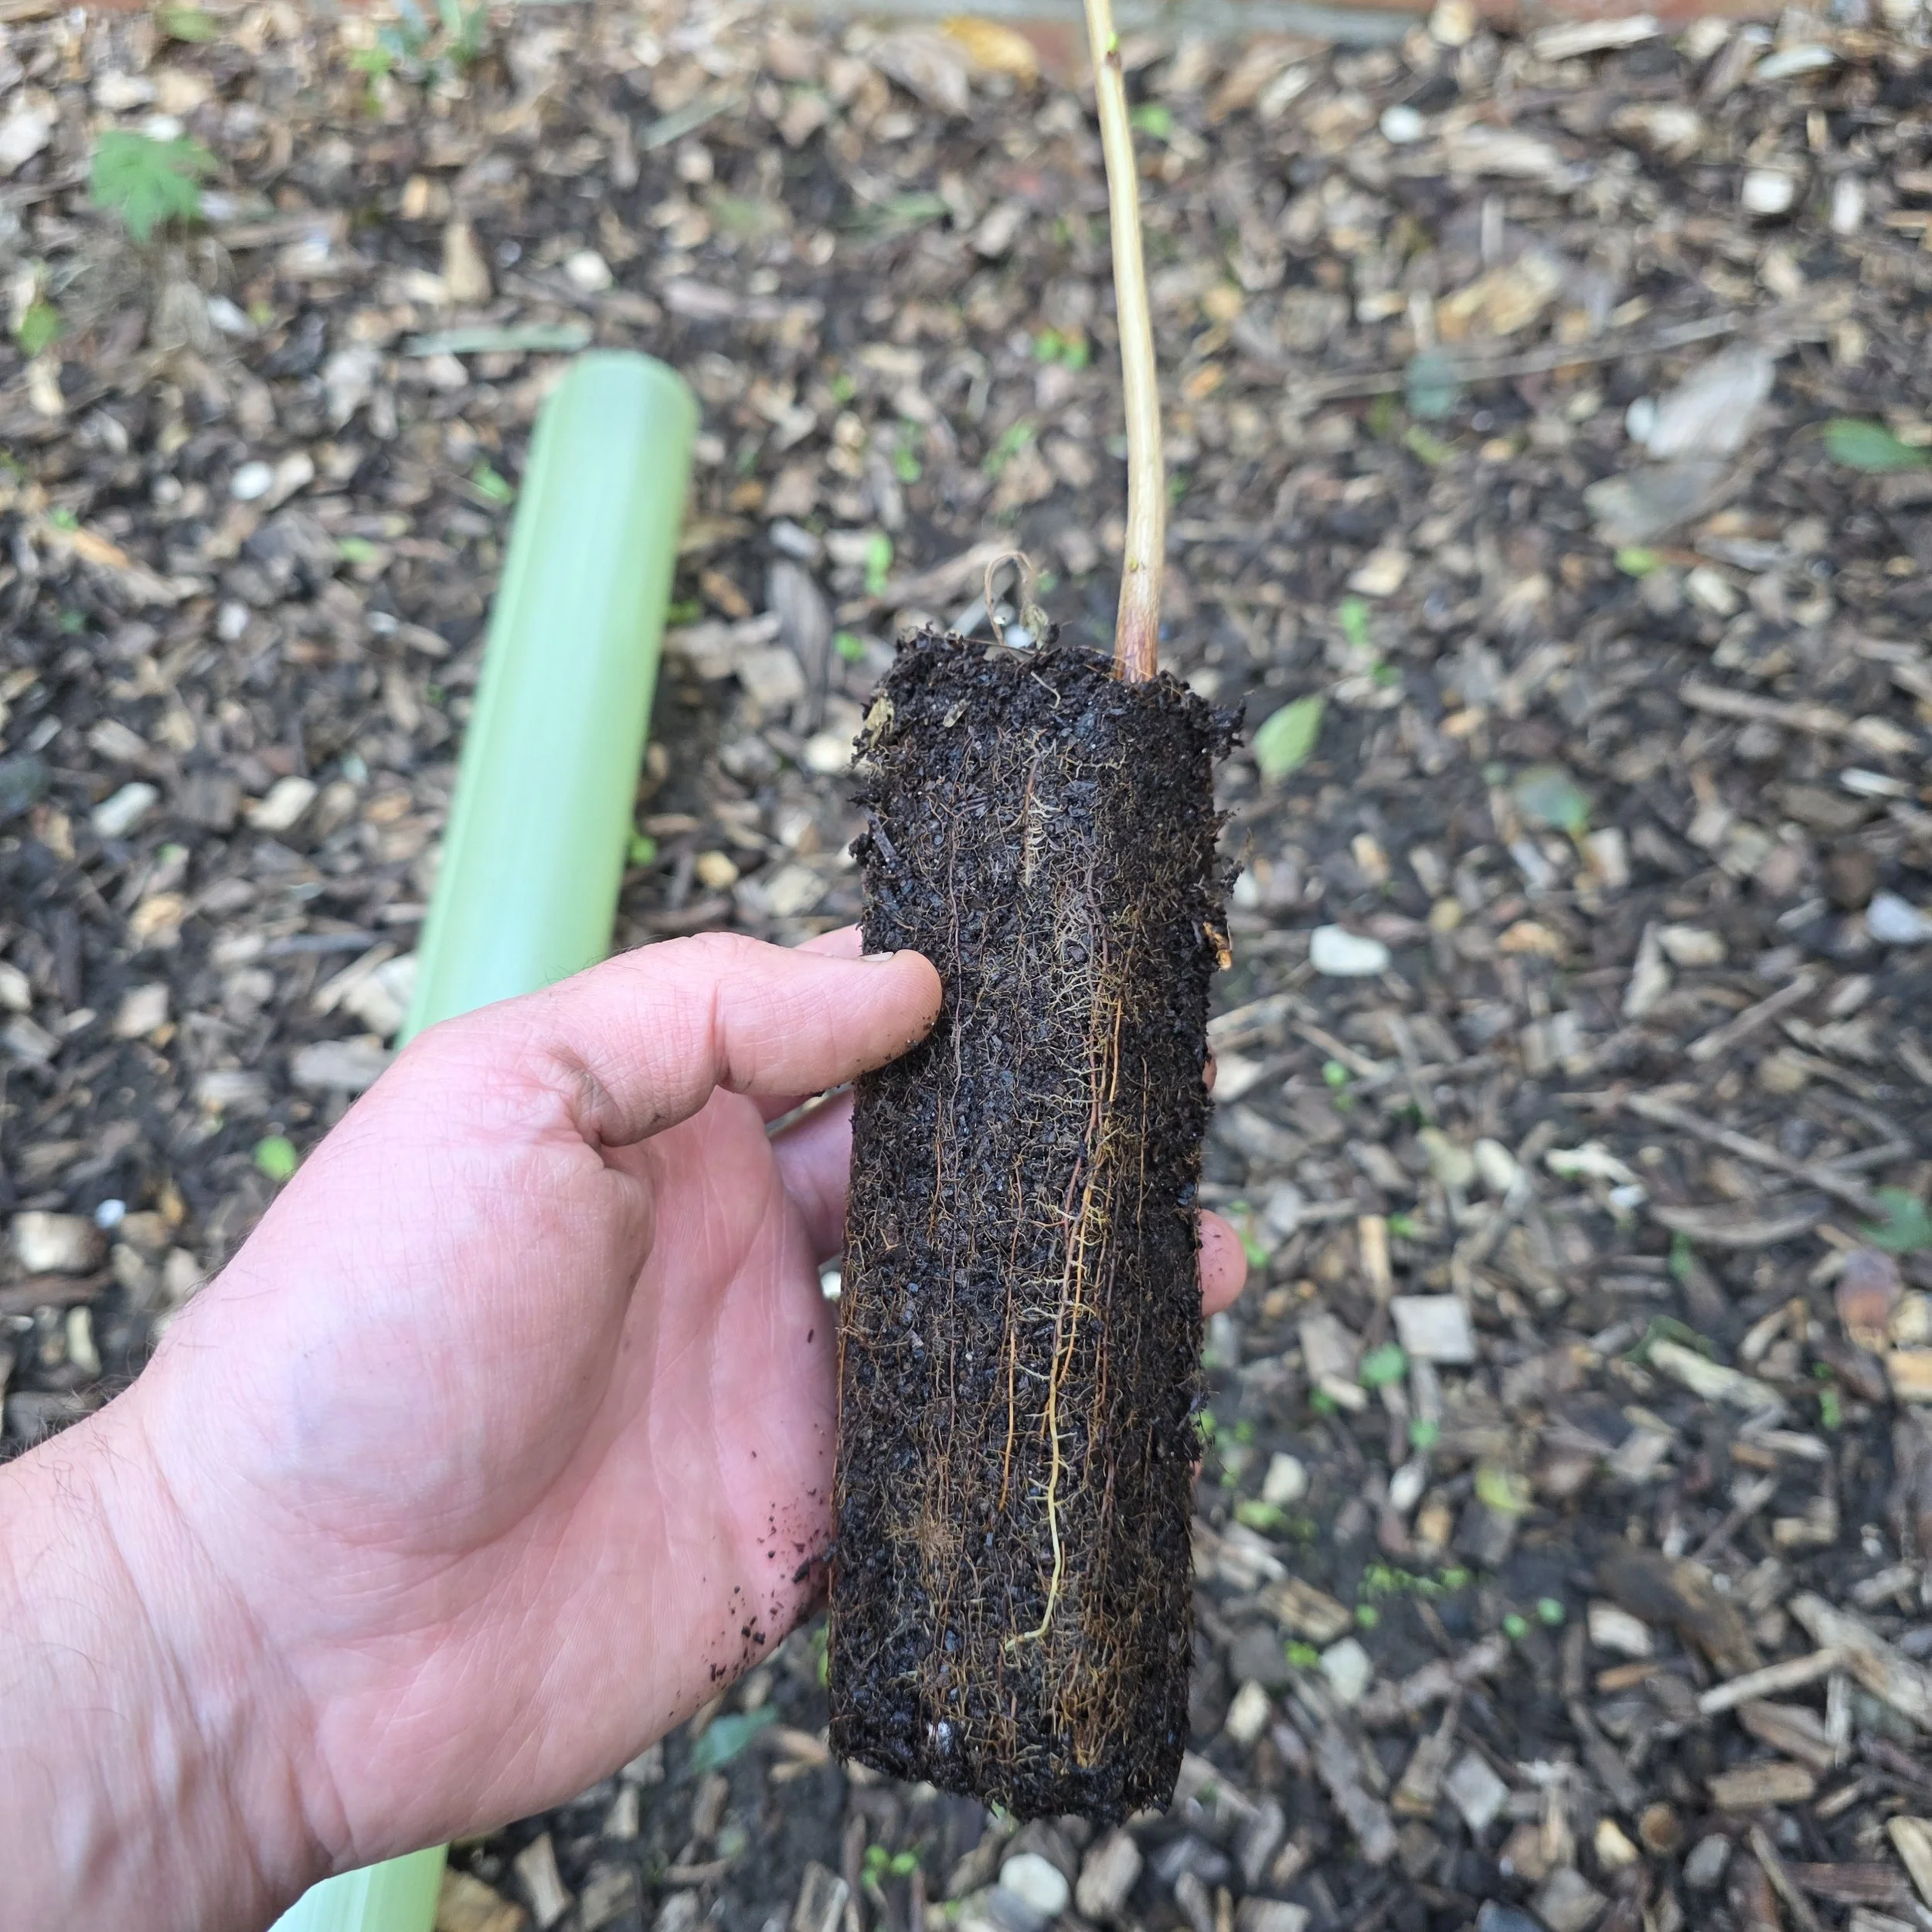
Gently open the tube by pulling the long slit open. Remove the tree from the tube and carefully unwrap the root plug. Be careful to handle the tree by the root plug or base of the stem.
Usually the root plug of soil remains intact - but if the soil has become loose and falls apart this is fine, just be extra careful not to damage the roots.
3. Place your tree in the hole
Gently lower your tree into the hole, making sure the roots fit comfortably. Hold the tree upright and ensure that the top of the root plug is level with the ground. If the soil has broken apart, check the stem to identify where the top of the root plug was.
If necessary, add a little soil underneath to raise the tree to the correct height. Getting this right helps prevent the tree from being planted too deeply.
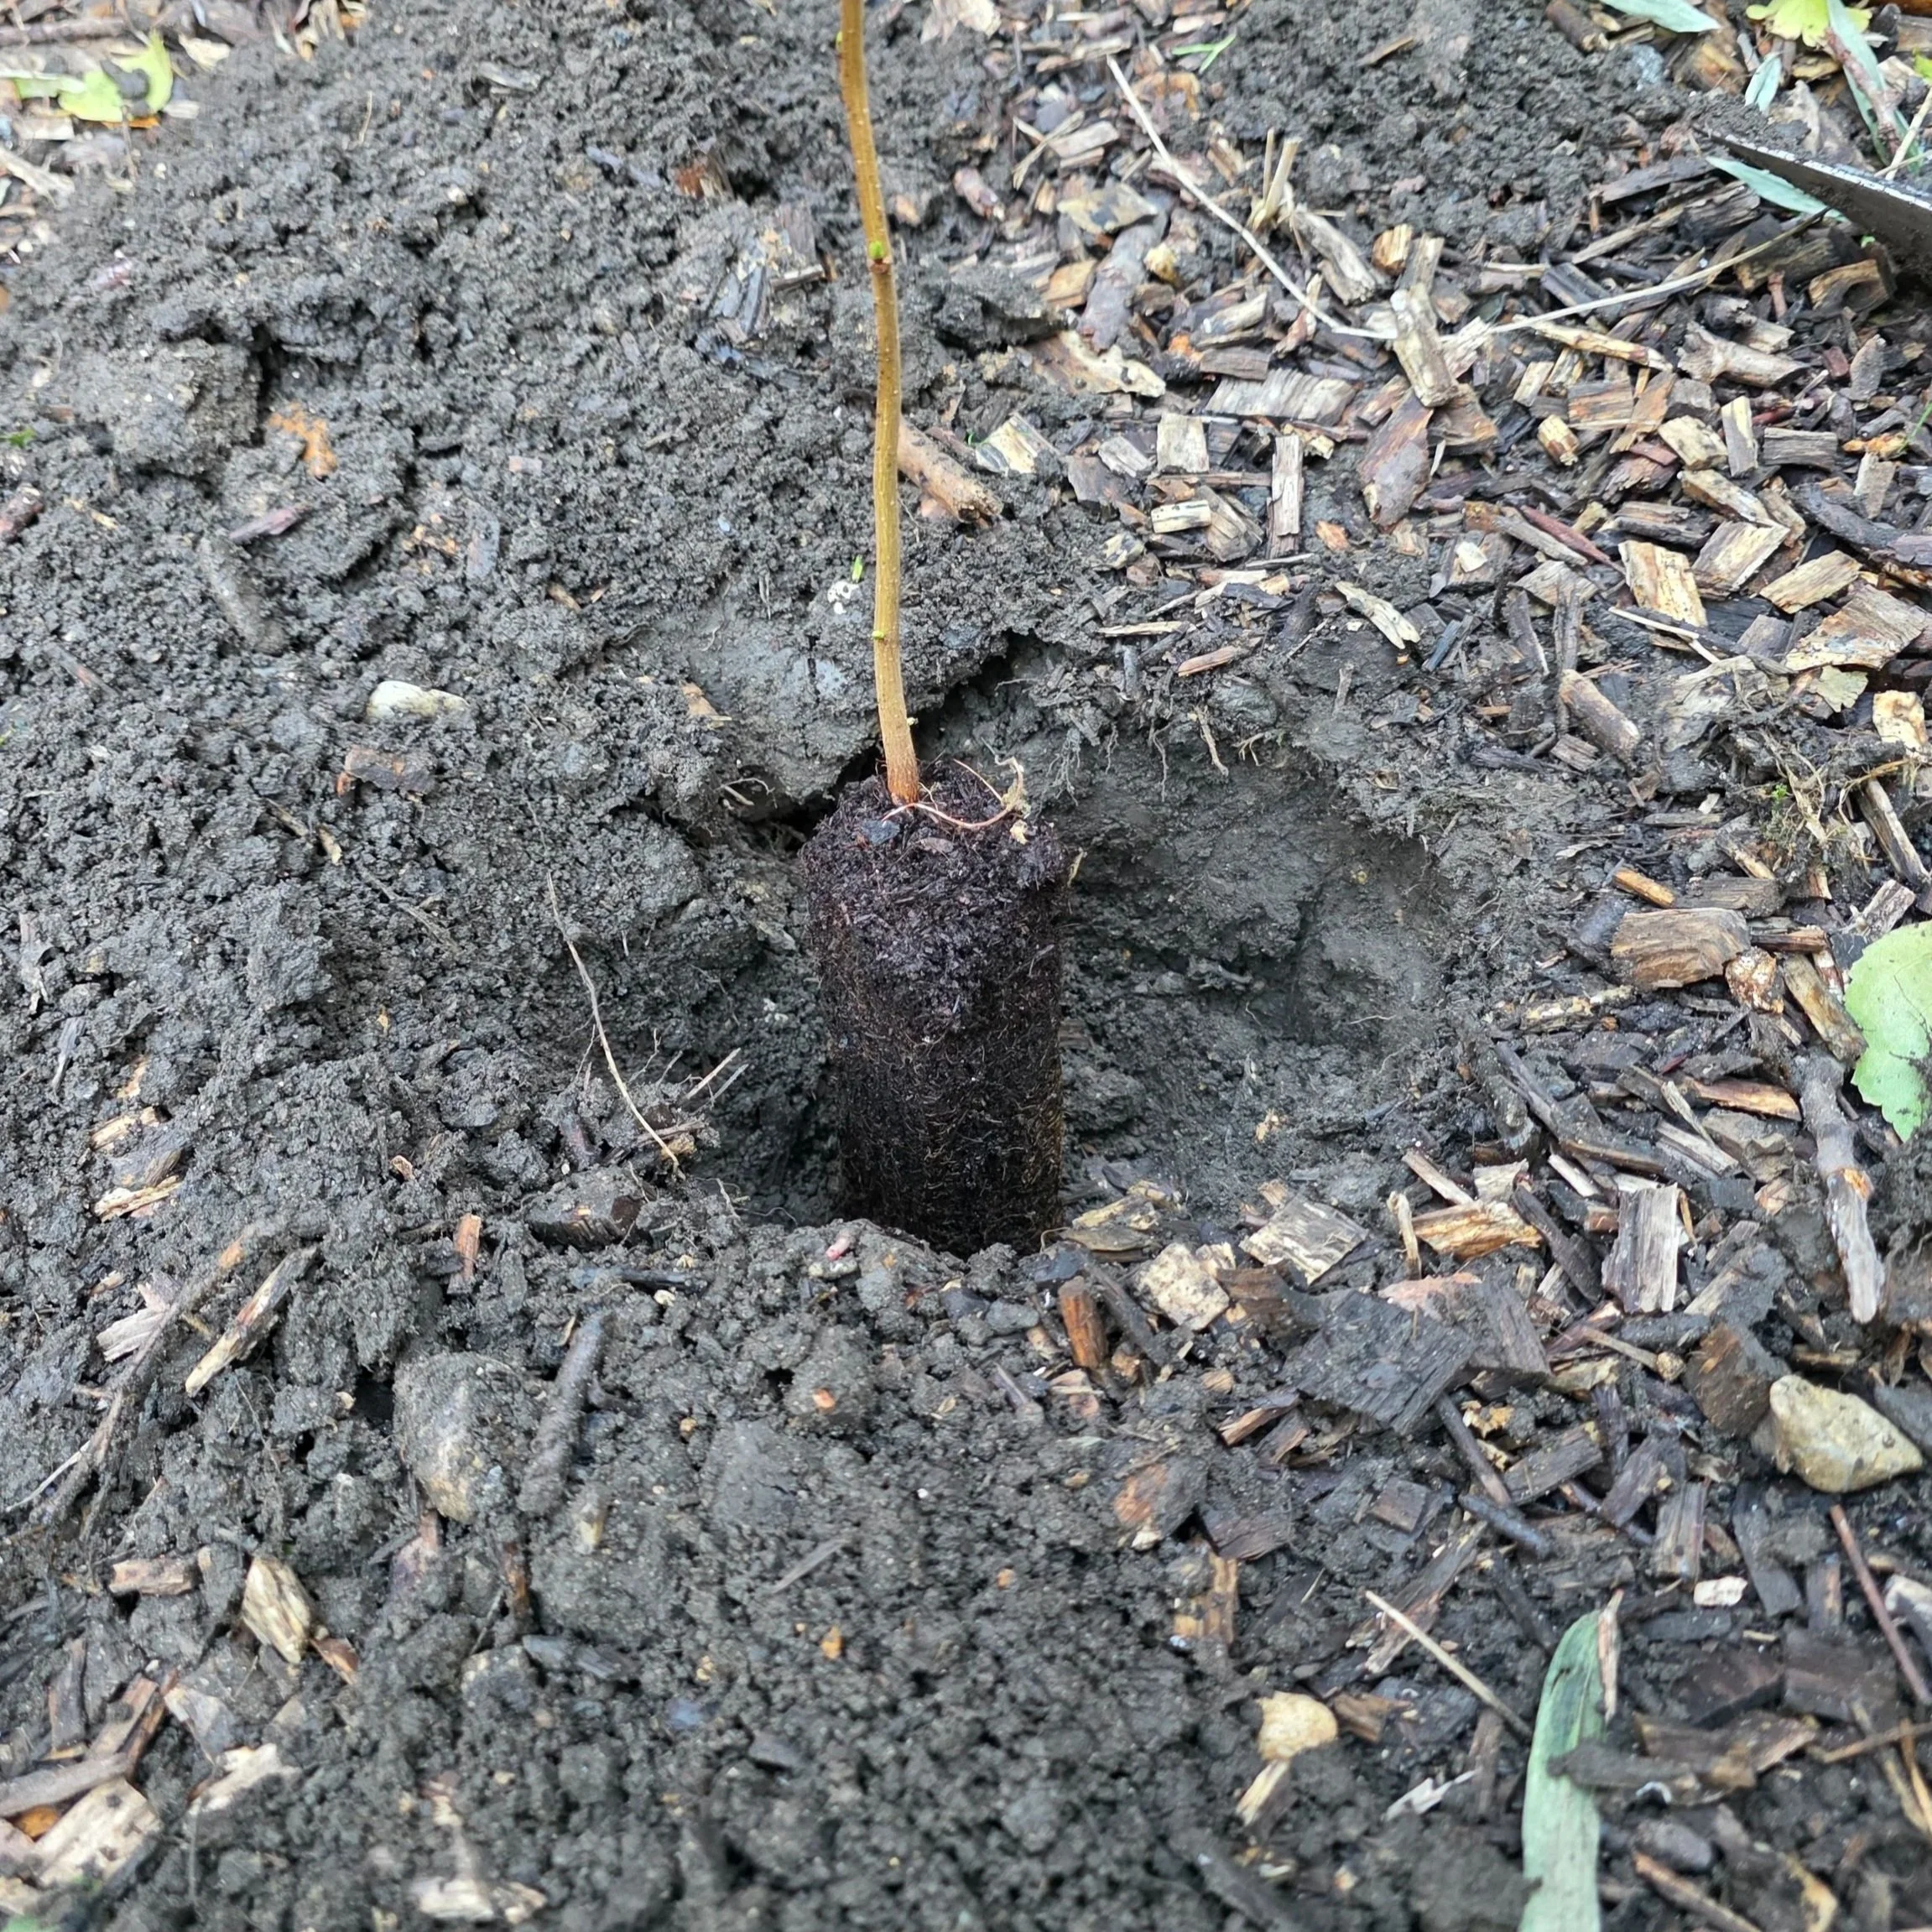
4. Fill in the hole and firm down
Use the soil you removed to fill the hole back in. Gently work the soil into the spaces, taking care not to damage the root system. If you have good quality, well rotted compost available, this is great to add to the planting hole too, mixed with the soil.
Once the hole is filled, press the soil down gently with your hands or foot to remove any air pockets and help the tree stand securely. Avoid compacting the soil too firmly though!
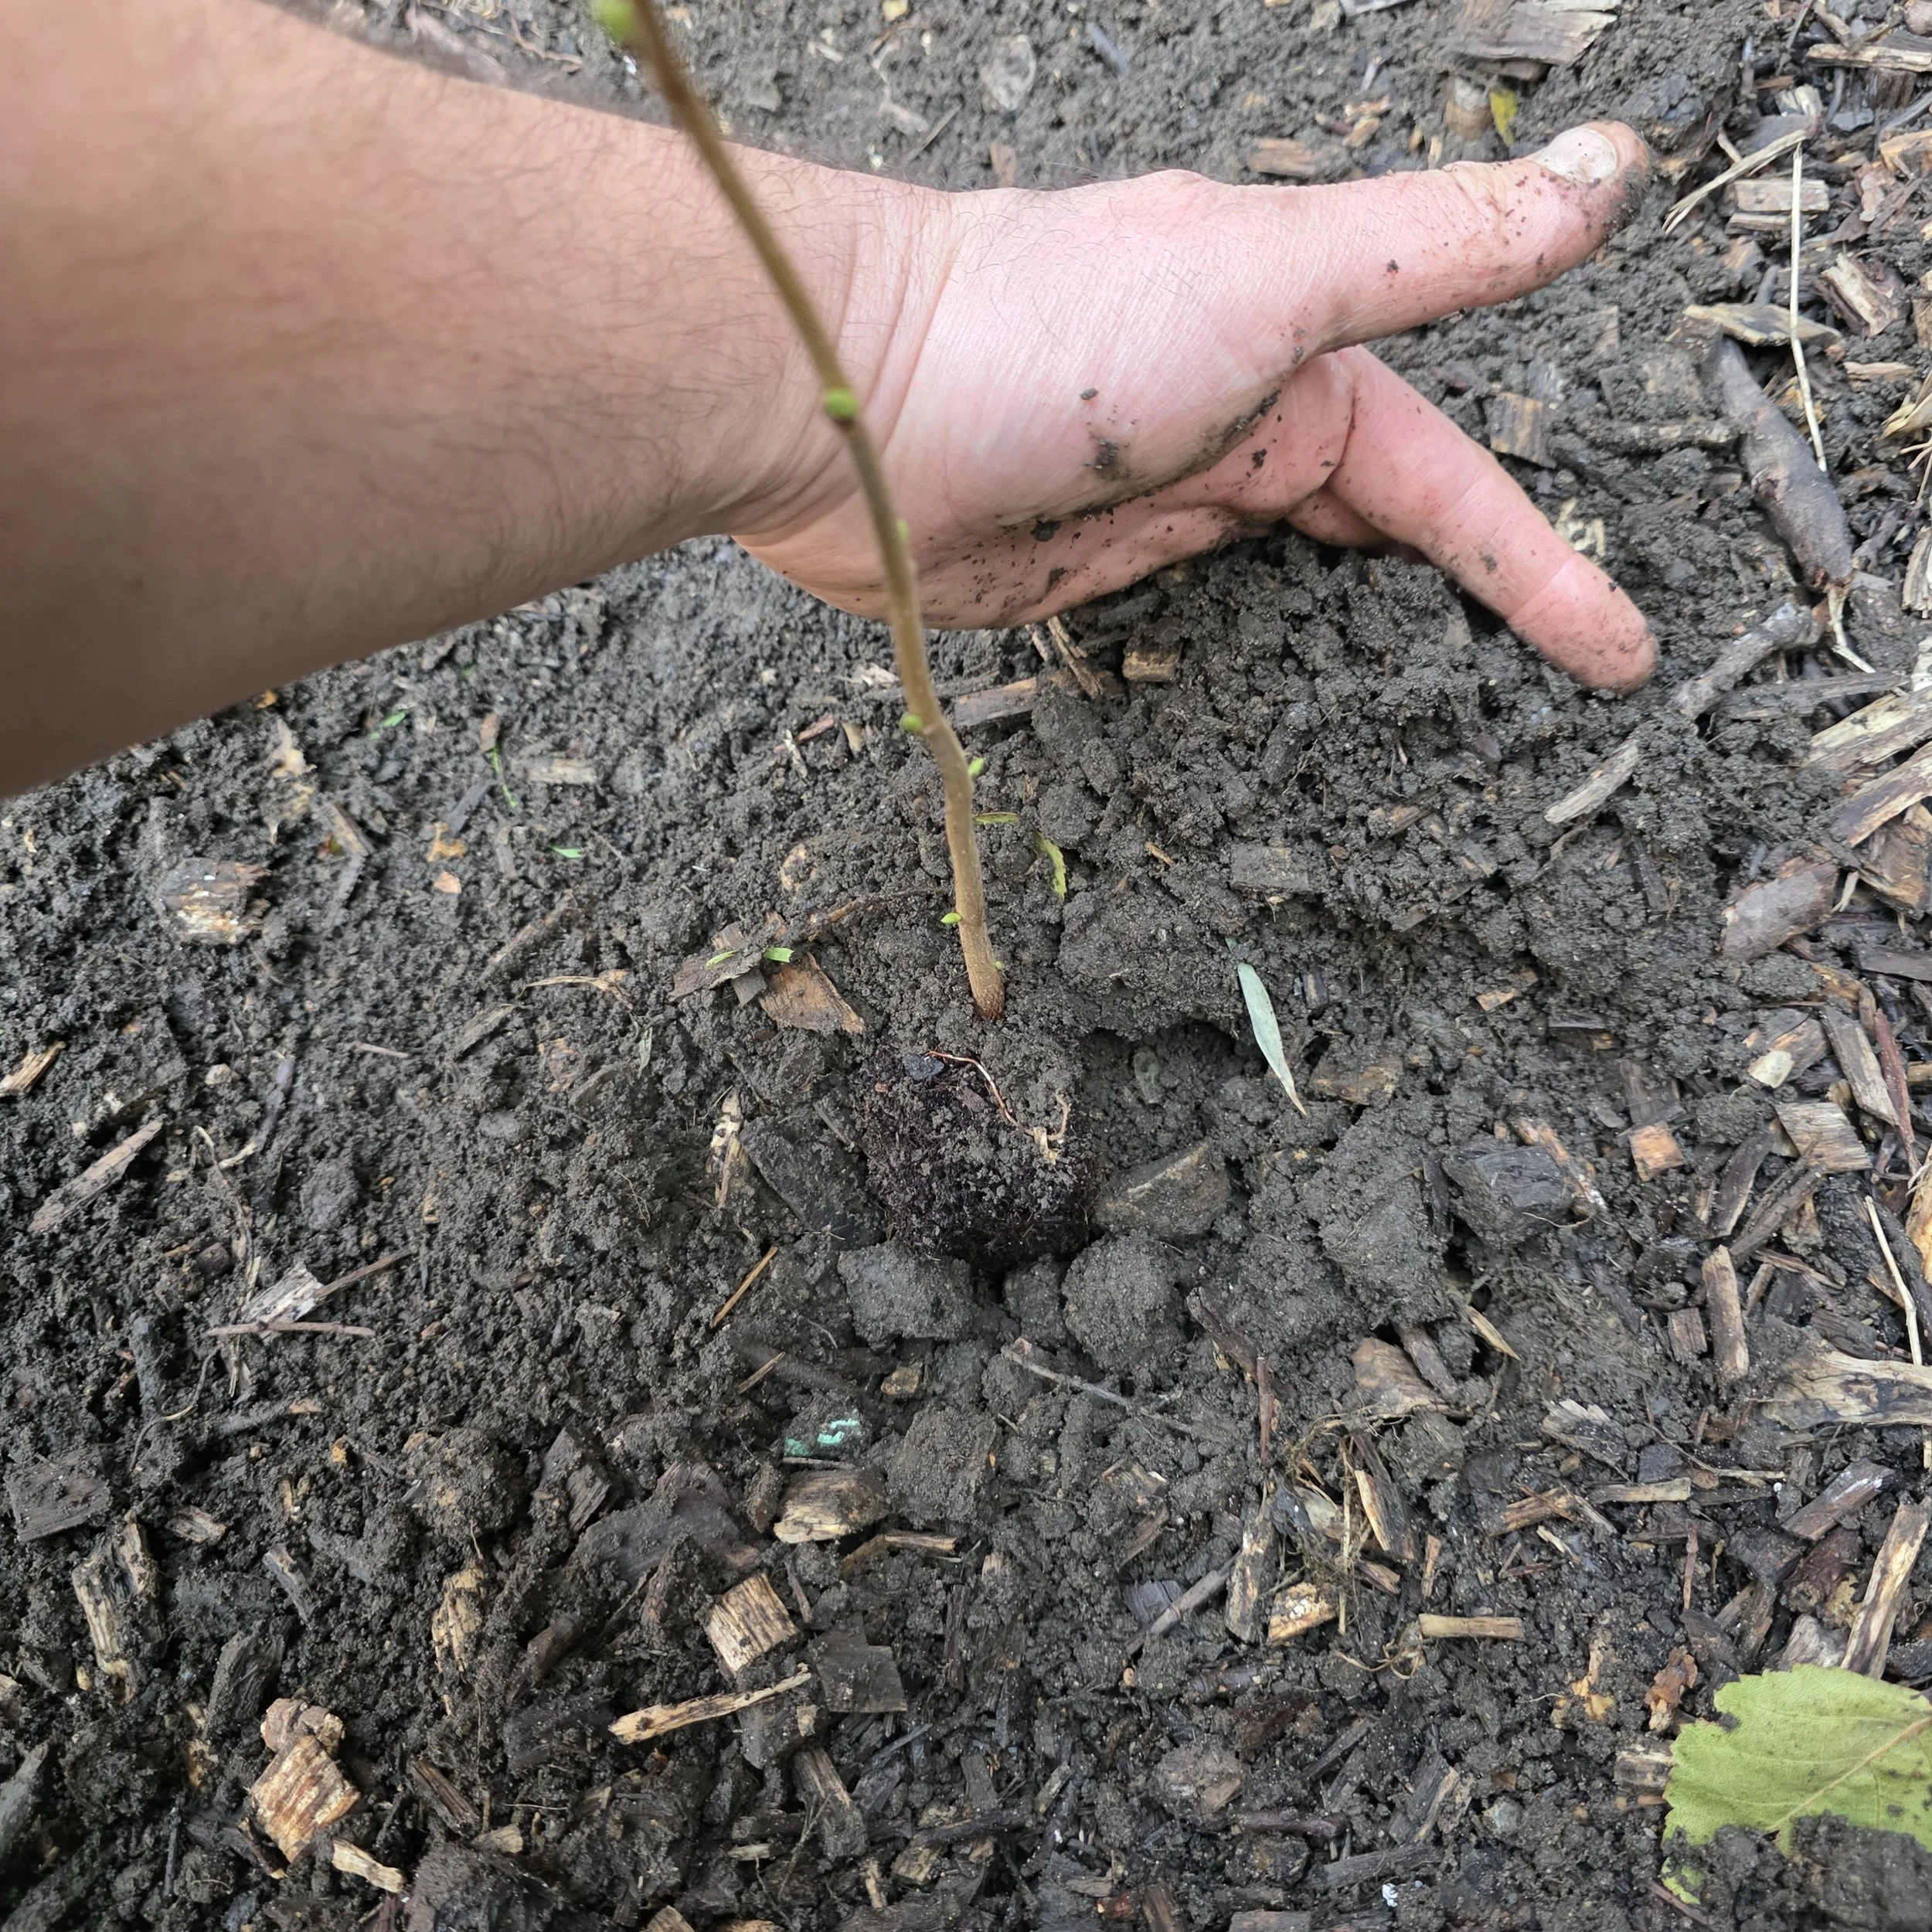
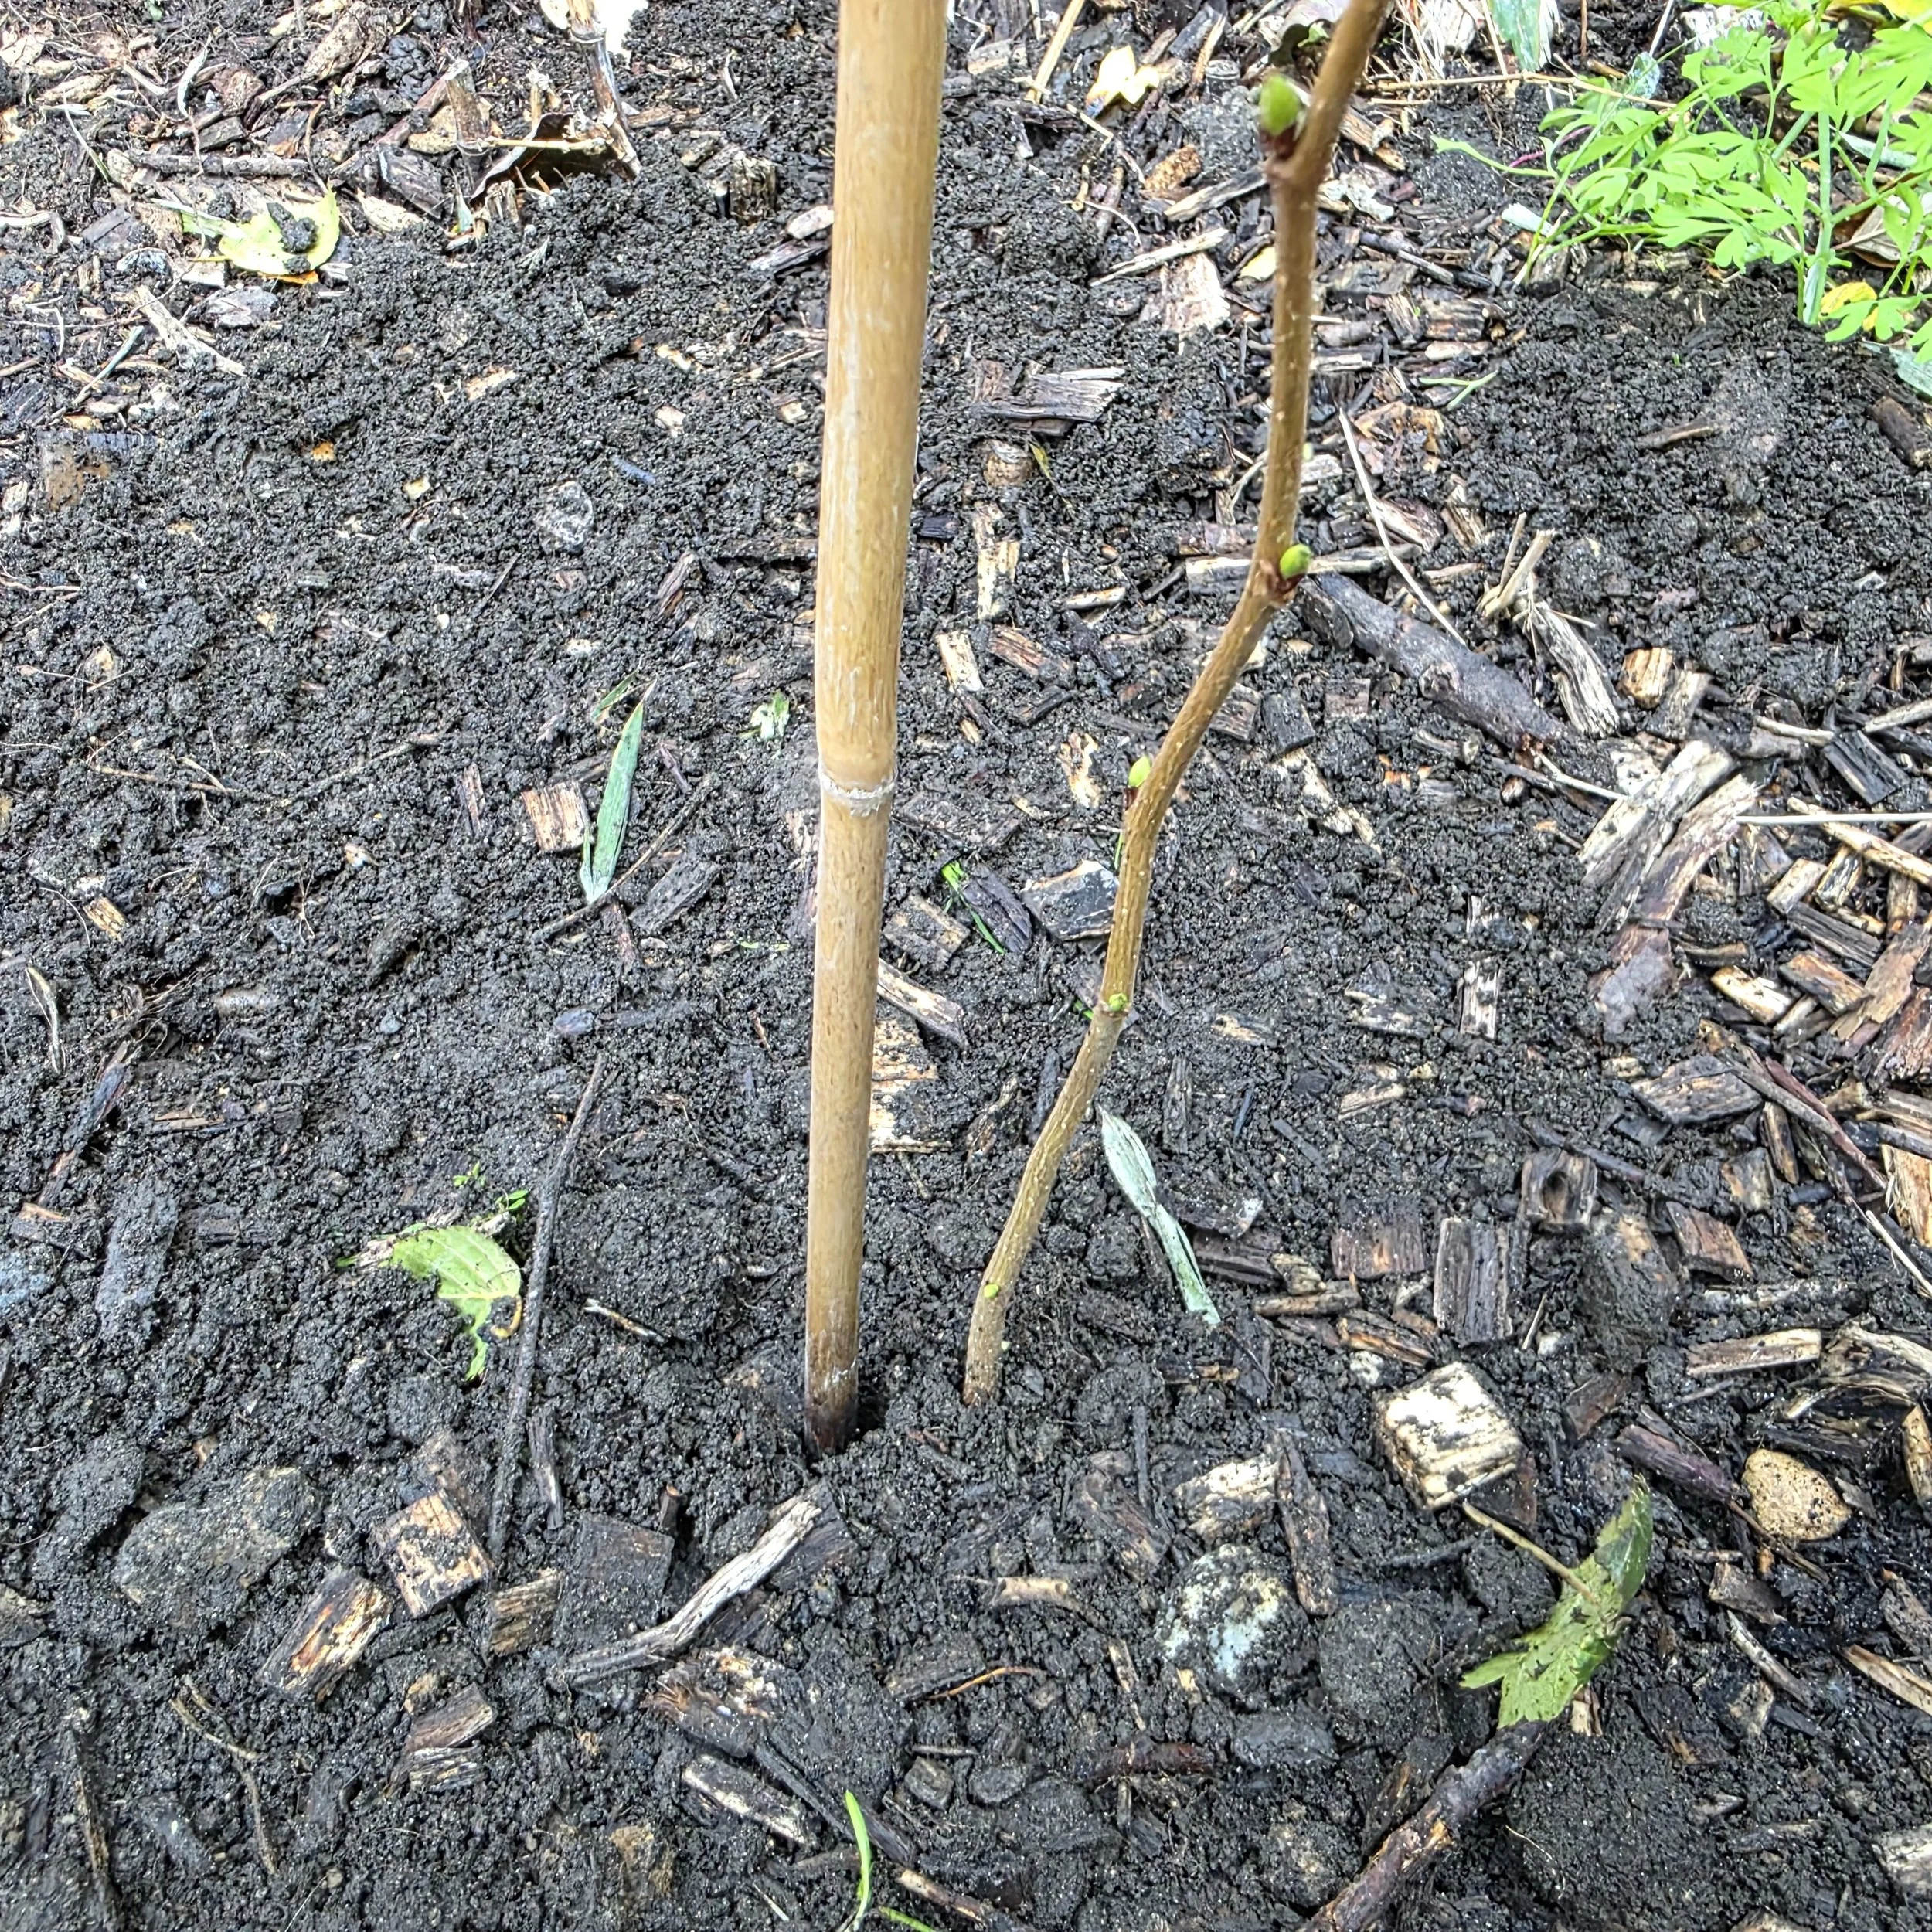
5. Insert the bamboo cane
Push the bamboo cane into the ground no more than 2cm from the tree stem, taking care not to damage the roots. The cane should be pushed about 30cm into the ground.
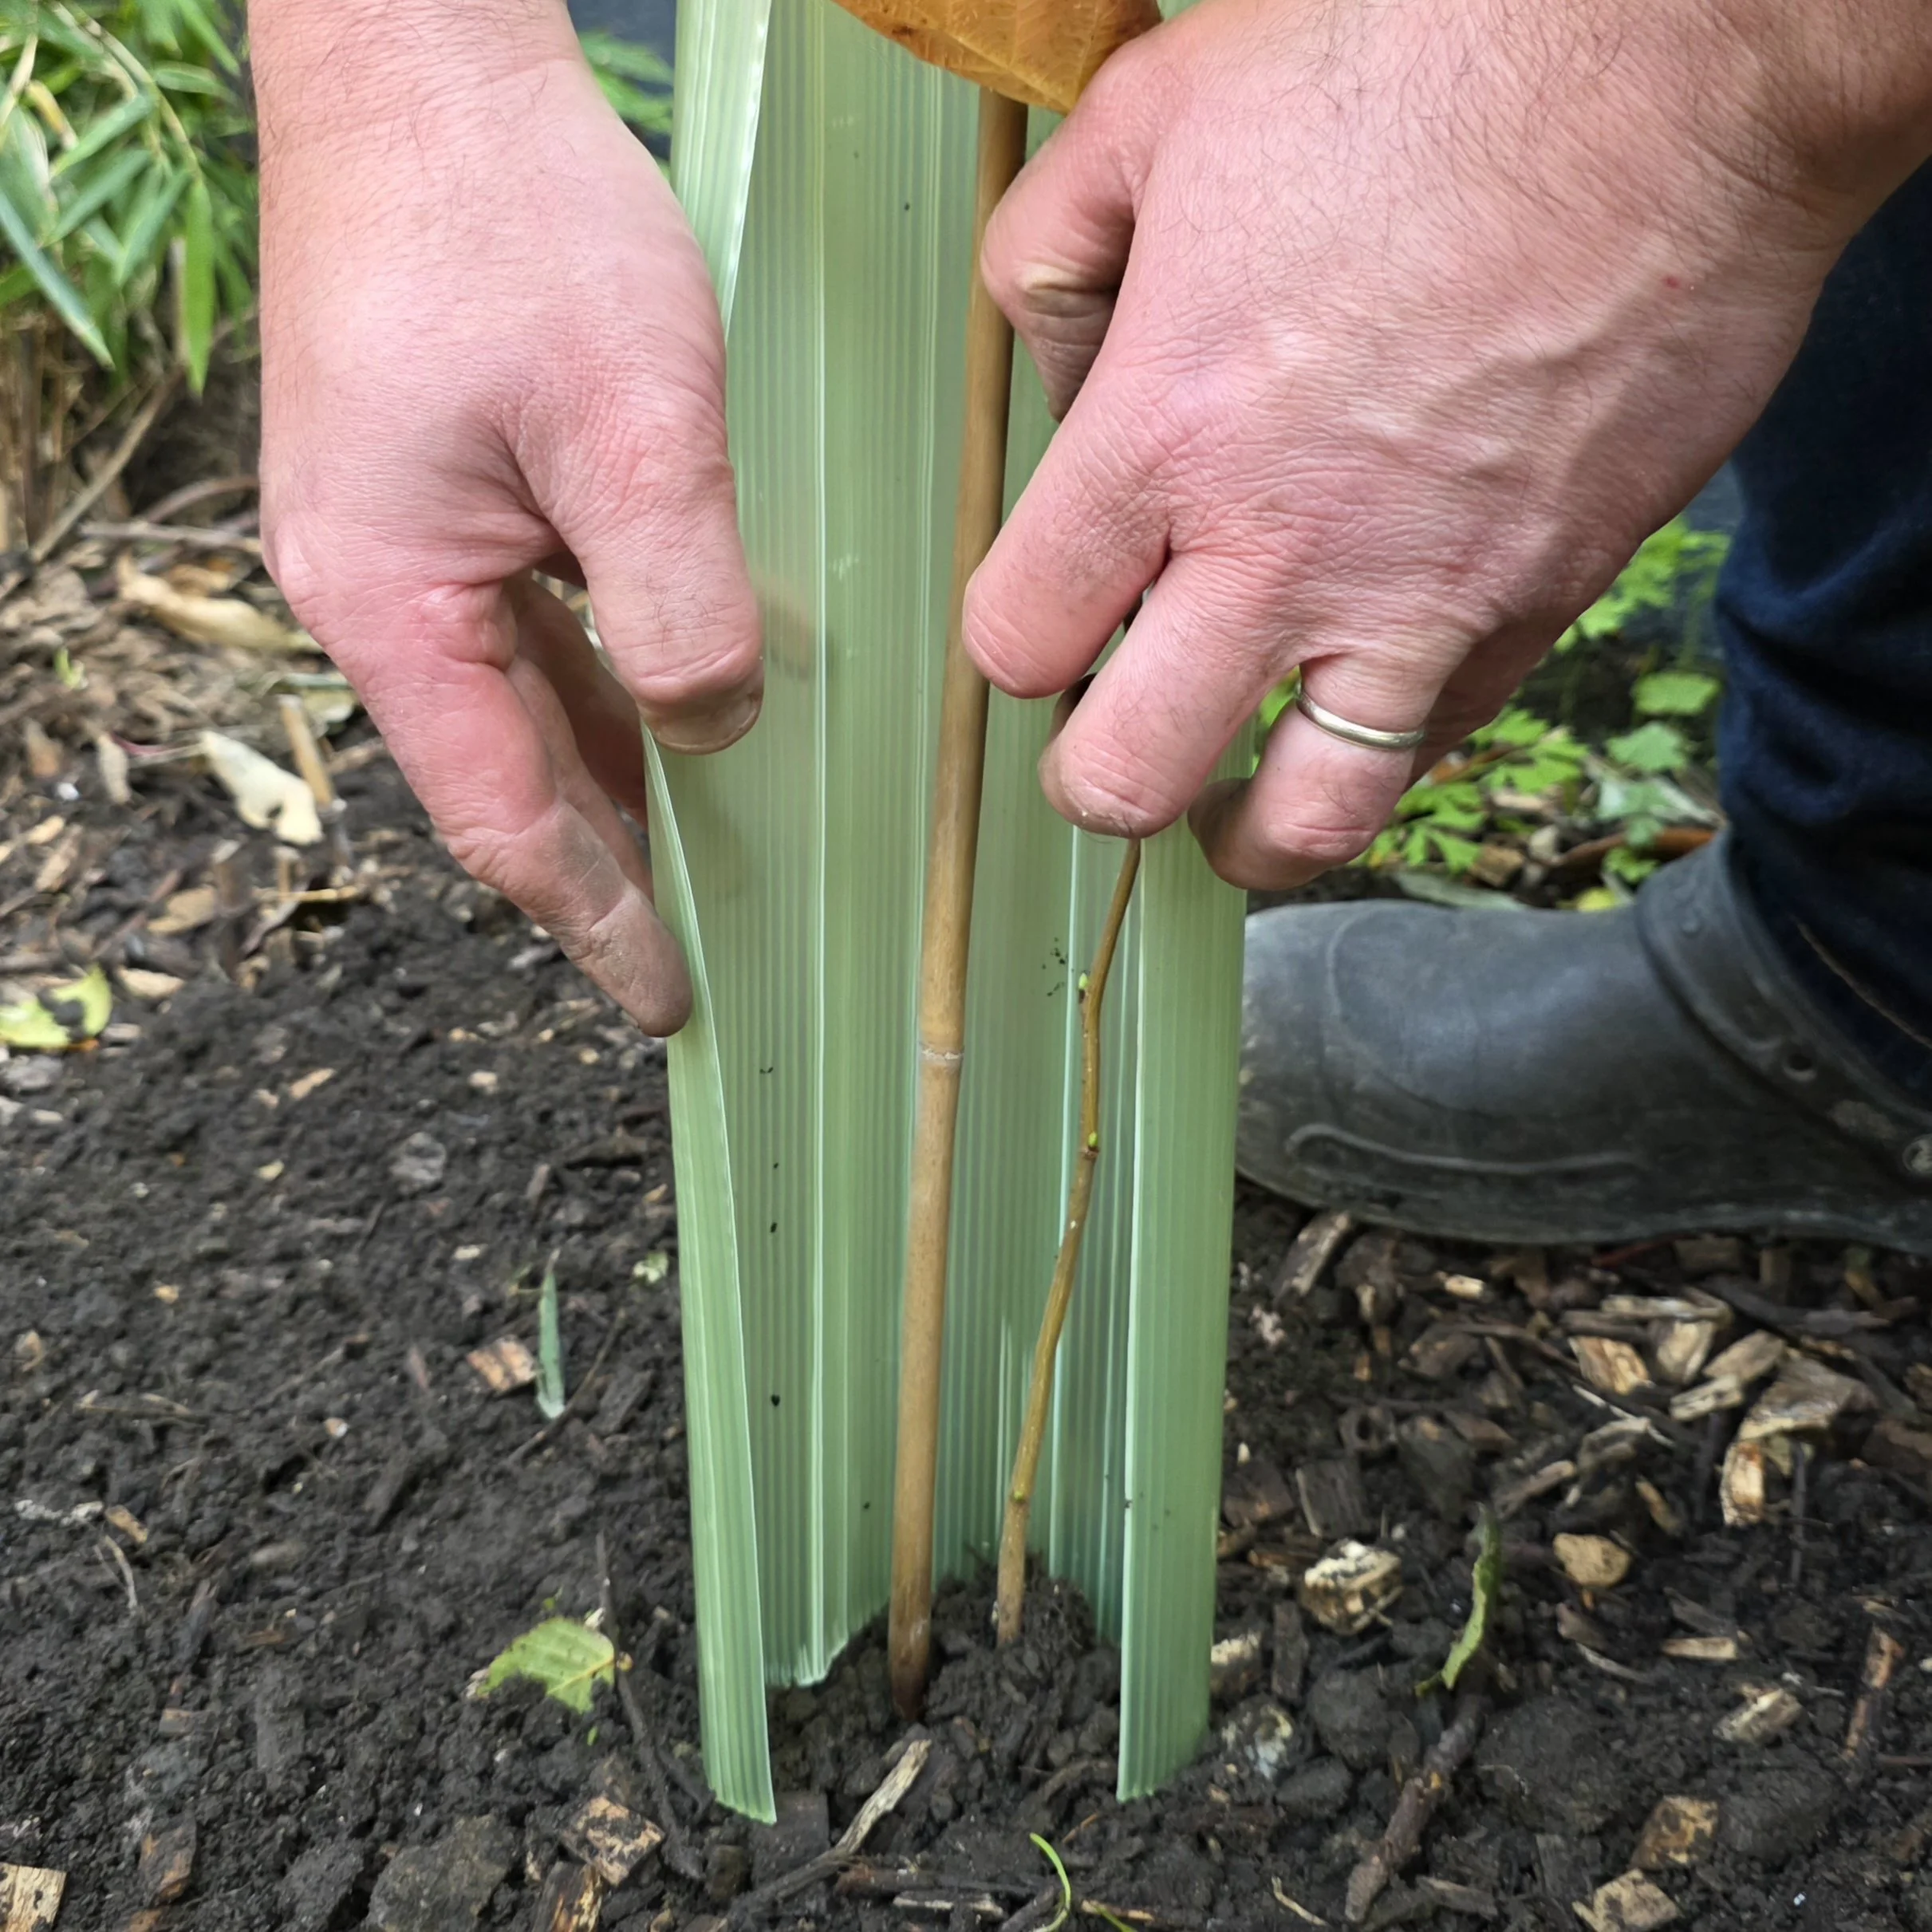
6. Add the protective tube
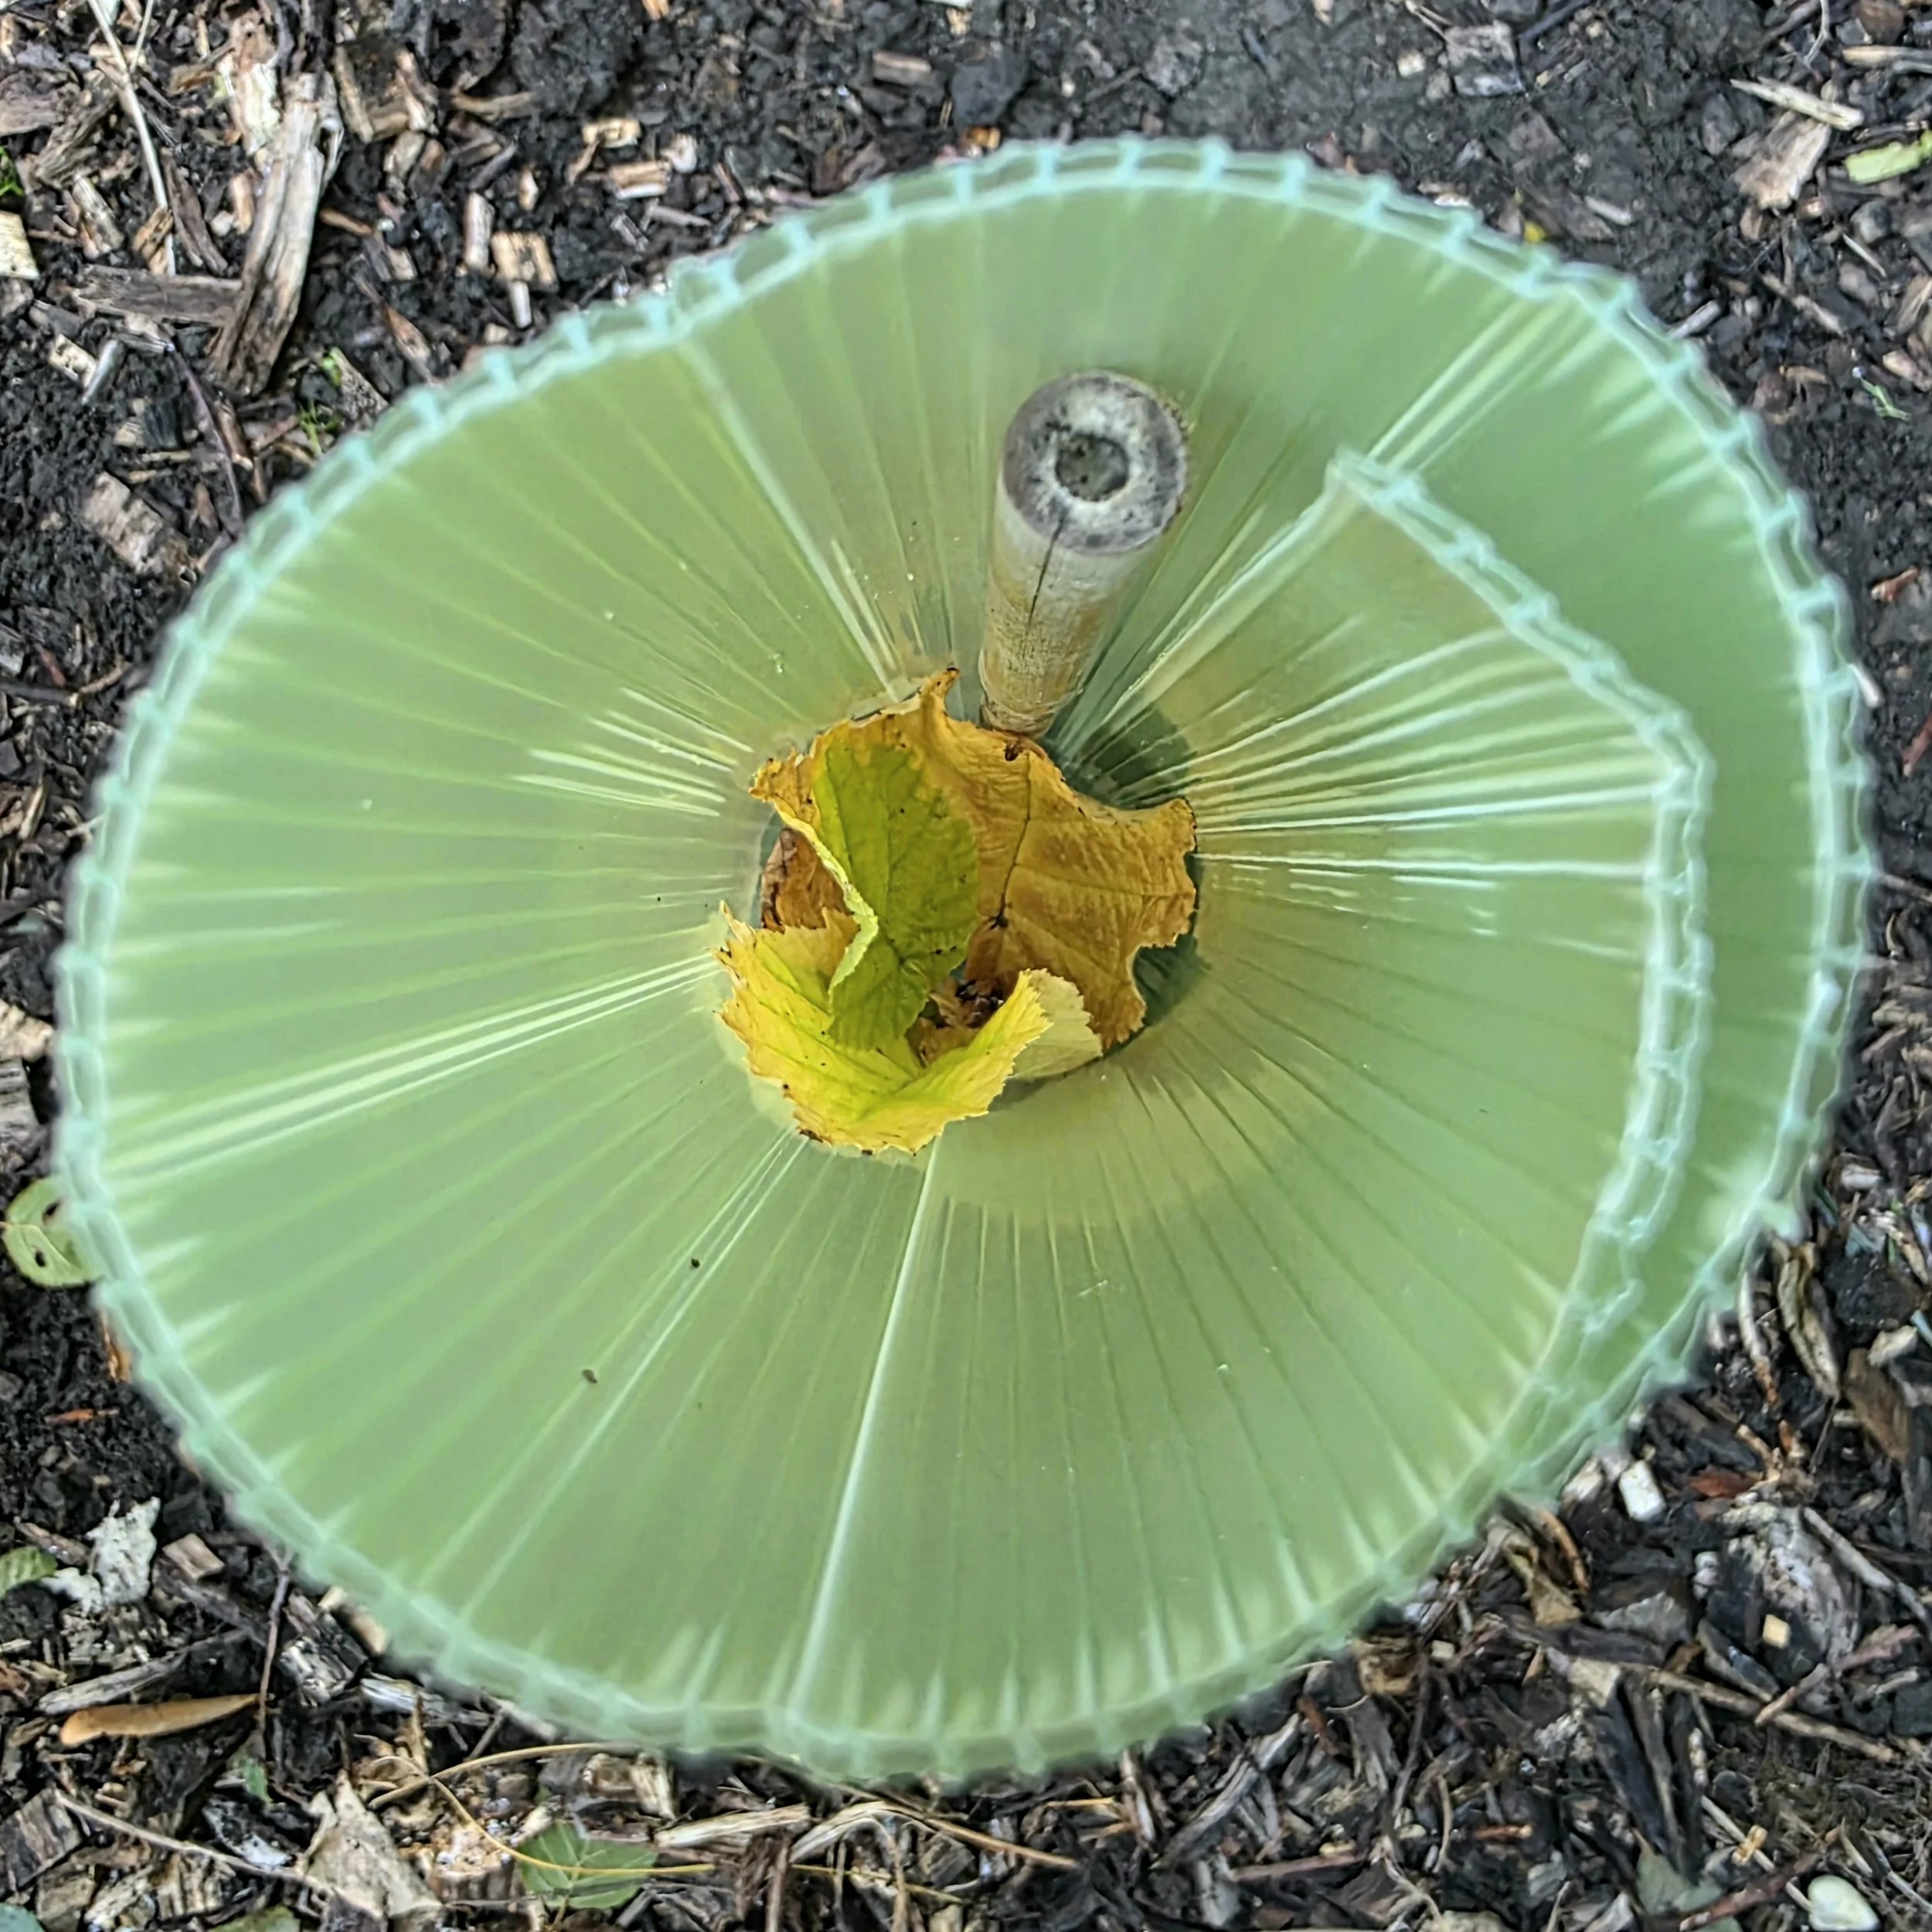
Carefully slide the protective tube down over both the tree and bamboo cane. Take your time to avoid damaging the stem or branches. You can pull it open to increase the diameter if needed.
If your tree still has leaves, it may be easier to place the tube by pulling the slit open to ease it over the tree and bamboo from the bottom.
Once on, gently push the tube into the soil slightly to protect against mice or vole damage. Check that the tube is standing securely and provides protection for your young tree.
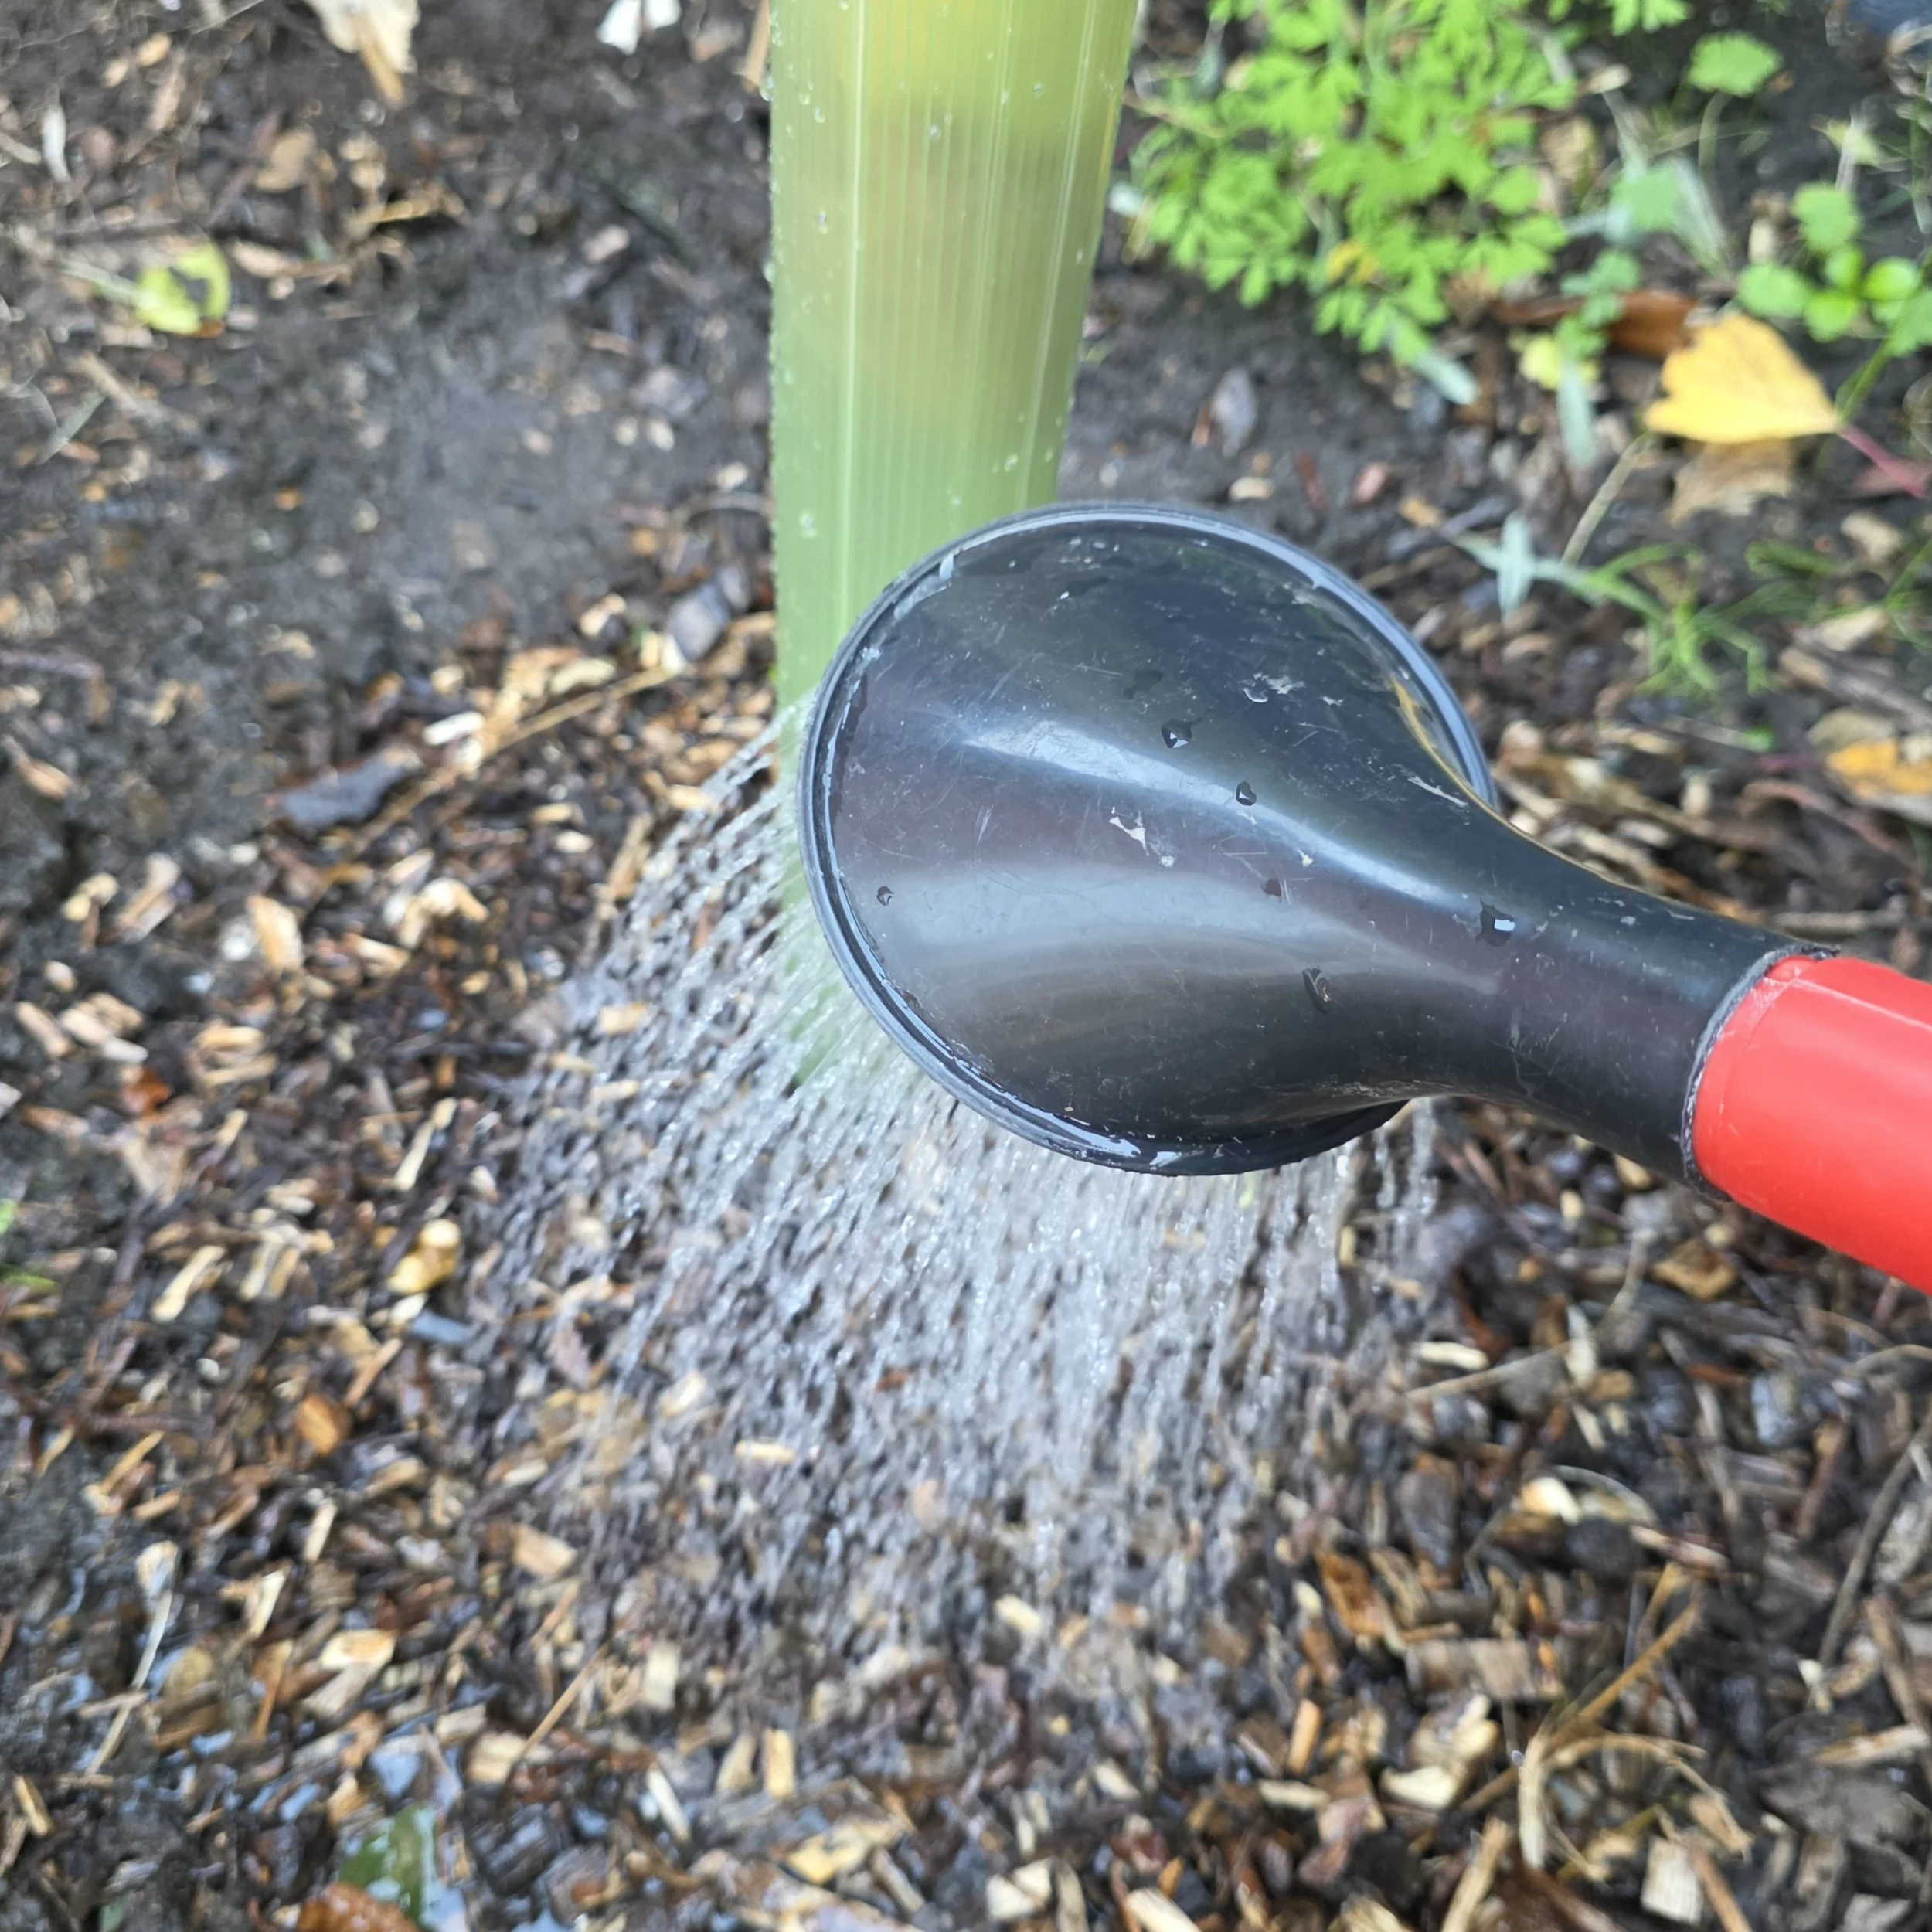
7. Give your tree a good drink
Finish by watering your tree thoroughly, even if the soil is moist. This helps settle the soil around the roots and gives your sapling a good start.
Congratulations – you’ve just planted your tree!
Help your tree thrive
Planting is just the beginning. A little aftercare will make a big difference, particularly during the first couple of years.
Add a mulch: Adding a layer of woodchip or cardboard around the base of the tree when planting it works wonders to retain moisture in the soil and protect it during hot, dry weather.
Water regularly: Check the soil during dry weather and water thoroughly when the soil is dry, especially throughout spring and summer.
Keep weeds away: Remove grass and weeds around the base of your tree so they don’t compete for water and nutrients.
Check the protector: Make sure the tube and cane remain secure. In Spring, the tube may look cramped full of leaves, but this is fine and will not impact growth. Your tree will quickly grow out the top of the tube if it hasn’t already. The tube helps protect the young tree from animal and wind damage, and from being trodden on by humans - feel free to remove it once you feel the tree is well established. You can return the tube to us at any of our Community Garden meet ups so we can reuse it.
Share your planted tree with us!
Please do share photos of your tree planting with us, whether you’ve just put them in the ground or they are well established years later! Our volunteers love to see the impact of our efforts - simply tag @Rooted Chippenham on Facebook with your photos.
Get in touch
Got a question about our community tree nursery?
Send us a note and we’ll get back to you soon.
By completing this form you agree to our privacy policy